Yes, the Olympus in-camera black & white mode is great. I also love the fact that with modern cameras of the “mirrorless” category you can have a preview of the outcoming image right in your viewfinder or on the rear display, in black & white. And if you use the camera makers’ raw converter program, you *could* still have it in colour, but you *don’t have to* even see colour once in the whole process. Which I’ll describe for this photo of our cat from today:
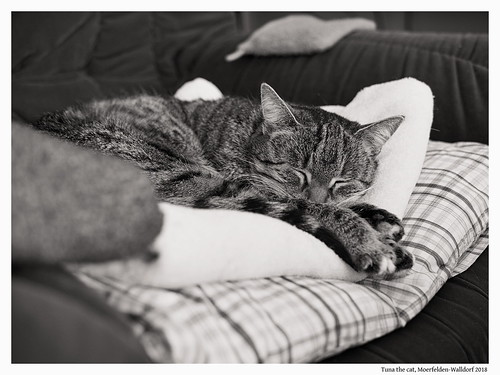
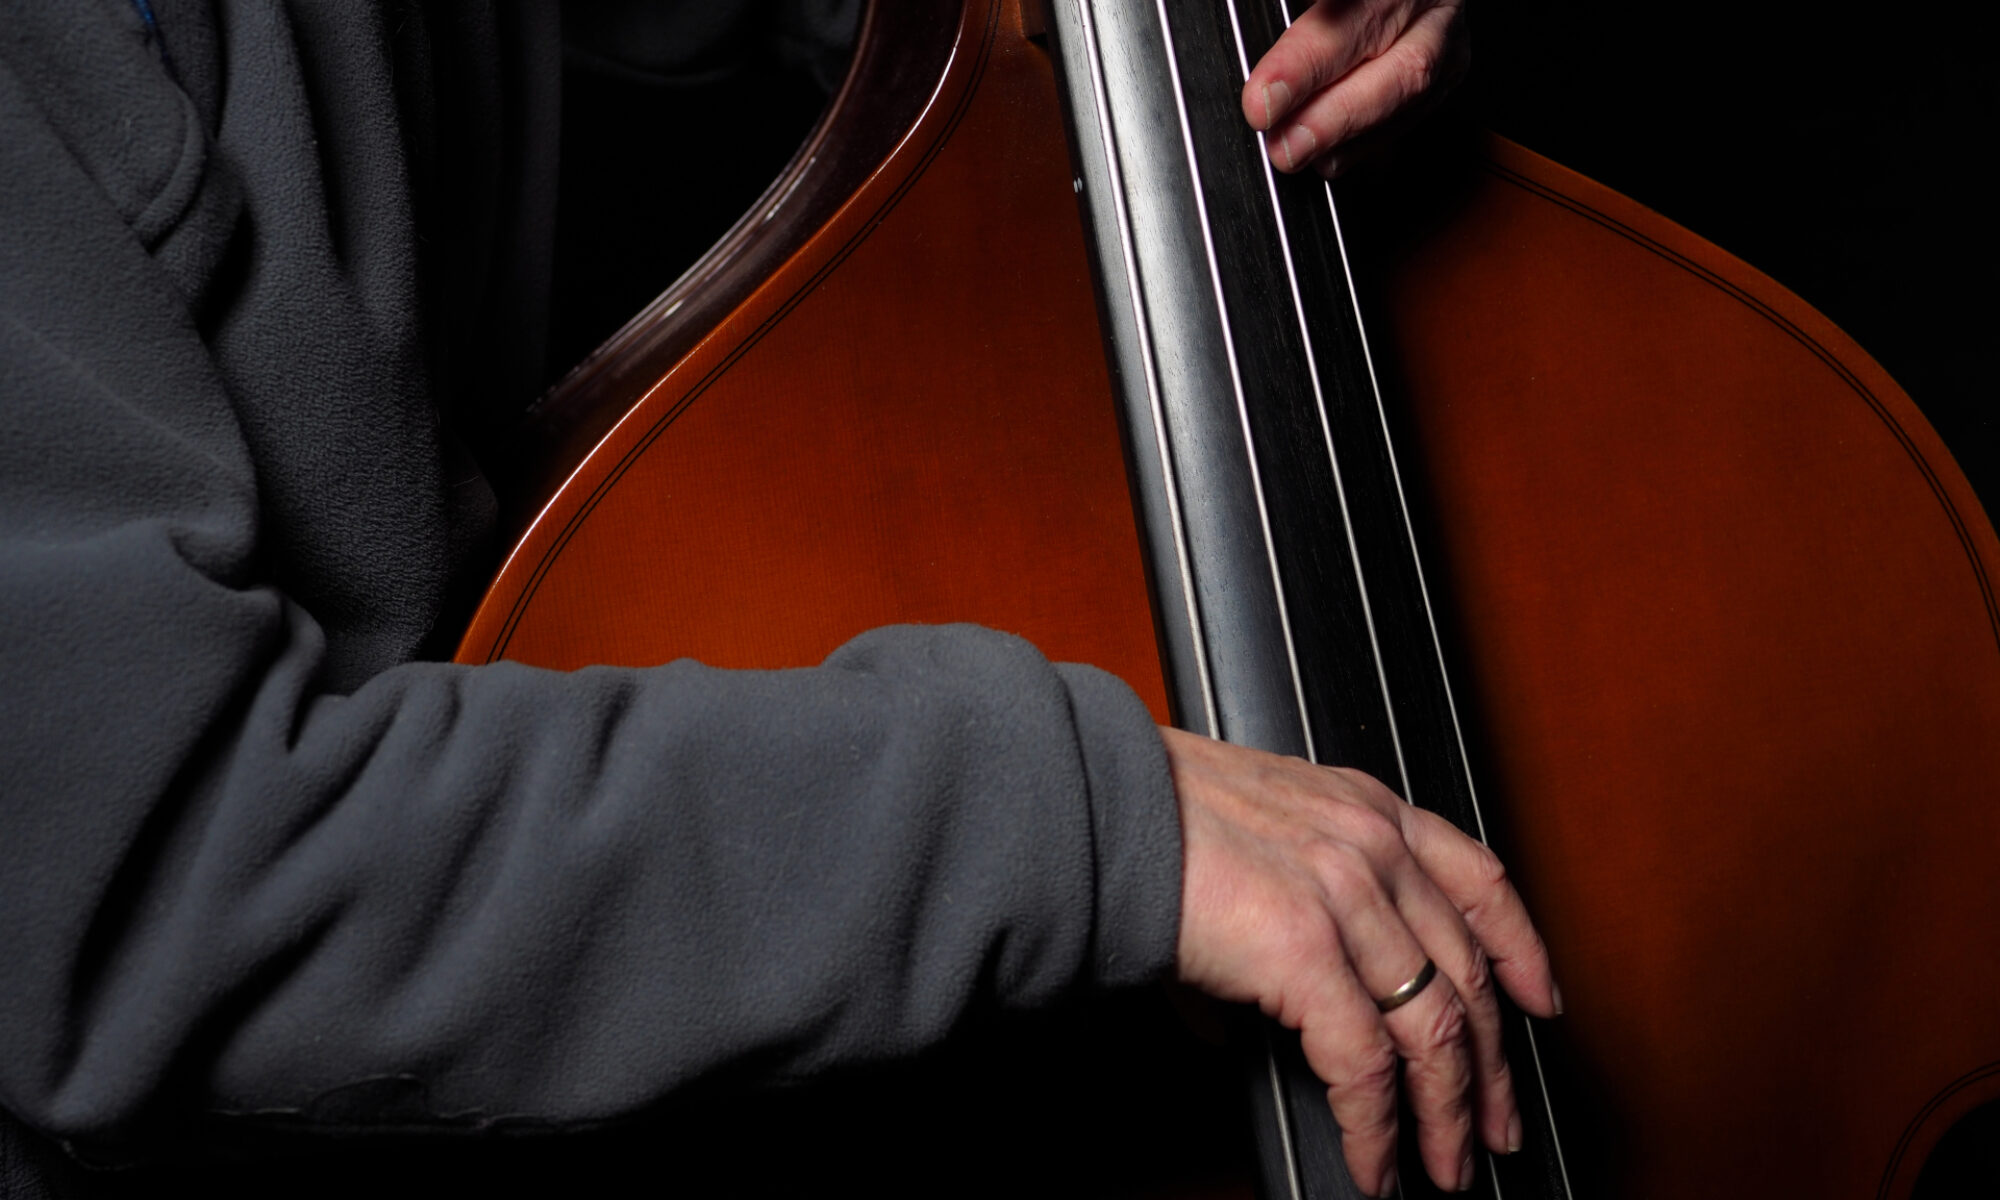
So the first thing of course is to take a photo. For this one I used the black & white mode of my camera, and ISO 200 at an aperture of f/2 – which meant 2 seconds exposure time, and a tripod.
Then I loaded the raw .orf image into the Olympus Viewer 3 raw converter on a virtualized Windows 7 machine, but only to check exposure, sharpness and contrast, and then to convert it into a 16 bit .tif image.
This resulting .tif I loaded into Silver Efex Pro 2 (still on Windows) to use its “019 Fine Art” preset, and to create a white border (no. 14) around the image. Saved again as a .tif (Silver Efex makes this a .TIFF)
Back in Linux, I then use RawTherapee with my self-produced and saved midtoning, which leaves the blacks & whites alone but tones those mid grey levels to a brownish tone – looks much nicer than just grey. In RawTherapee I also set the title, correct some Exif error from Silver Efex, and add some keywords like “cat portrait”, or “b&w” (you can see those in Flickr).
Final step: I used The Gimp to add the image title to the white border as well – good for prints or if you’ll have the image out of context somewhere.
So this is my routine for black & white photos, which I still love since my brother Willi and me developed our own Ilford films and made “prints” with his Durst enlarger and some chemicals in our parents’ bathroom…
Thanks for reading.