This week was a big one, at least for Nikon – they announced their new “Z” line of mirrorless cameras together with three “S” lenses available for those, and while they don’t replace their current DSLR cameras, it’s clearly Nikon’s way into the future (together with what is probably the greatest and most intelligent change, their new and bigger lens mount).
Do I need one, or maybe one of the pretty similar Sony A7 models? No, I don’t think so. Tho one of my cameras and my most expensive lens got stolen by pickpockets in Paris lately, I can still live – and live very good – with what we have already. And I used the favourites of our current gear for this for instance:
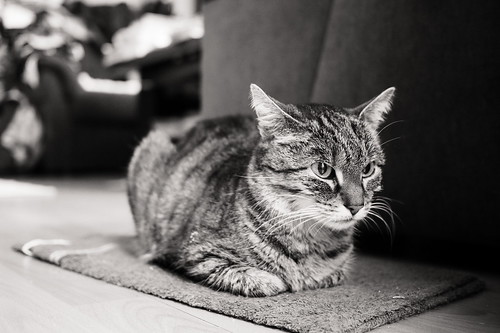
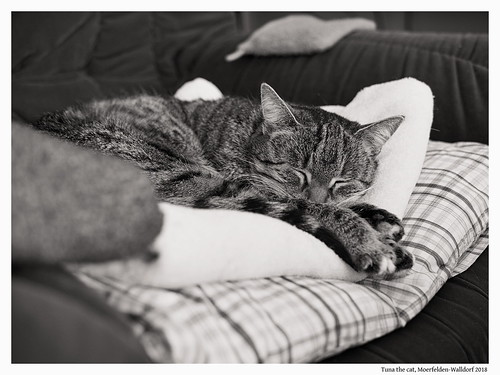
Tuna the cat, Moerfelden-Walldorf 2018
Just took this today with my Olympus OM-D E-M10 (first generation), and with Mitchie’s Panasonic Lumix 20mm/1.7 lens used at an aperture of f/2. The camera chose ISO 1600 and 1/15th of a second for exposure, and I had the preview in the camera set to black & white, together with a simulated yellow filter.
I love black & white, and to be able to preview it before even taking the shot is the first of many advantages of mirrorless cameras vs. those with optical viewfinders.
I still took the raw file, which I “developed” using different software products on different operating systems as follows:
1. Olympus Viewer 3 on (a virtualized) Windows 7 (I also have a virtualized and even a bare metal (dual boot) Windows 10 on my machine, but using these is in most cases just overkill).
I’m using the camera makers’ raw processor in almost every image, simply because it gives me the best lens correction and settings which I also have in the camera itself, and because the default conversions look exactly the same as in-camera jpg images. For black & white, even the display of the raw image is still in black & white, tho you can of course change it back to colour at this point. However, the fact that I *don’t have to* look at a colour image is exactly what I want. So at this stage of the process I generally crop only, and I think about if the simulated filter and exposure or contrast settings are good enough to go on. I cropped this image into a 5:4 format (1:1 is too square, 4:3 or even 3:2 or 16:9 are too rectangular in my point of view – I love 7:6 or 5:4 formats which were used in large and in medium format film cameras in ancient times, last millenium or so 😉 ). For this image, cropping was all I did in OV3.
2. Silver Efex Pro2 with one of its presets
Still on my virtualized Windows, I then usually fire up Silver Efex Pro2 which I downloaded for free from Google while they still owned it (it now belongs to DxO and costs a bit of money again, but IMO it’s totally worth it). I mostly use one of the different presets, which I sometimes still alter a bit, but they’re incredibly good. For this image (and most others) I used their “019 Fine Art” preset, because that saves you tons of work in other raw processors, and it brings out detail like no other. Just love it. I save this as a .tif like the original conversion from OV3, so I have both and can still compare and decide which one to use later – but in most cases, SFX just has an easy win. It’s also really great if you want to simulate film, their “grain” alone is totally worth it.
3. RawTherapee on Linux
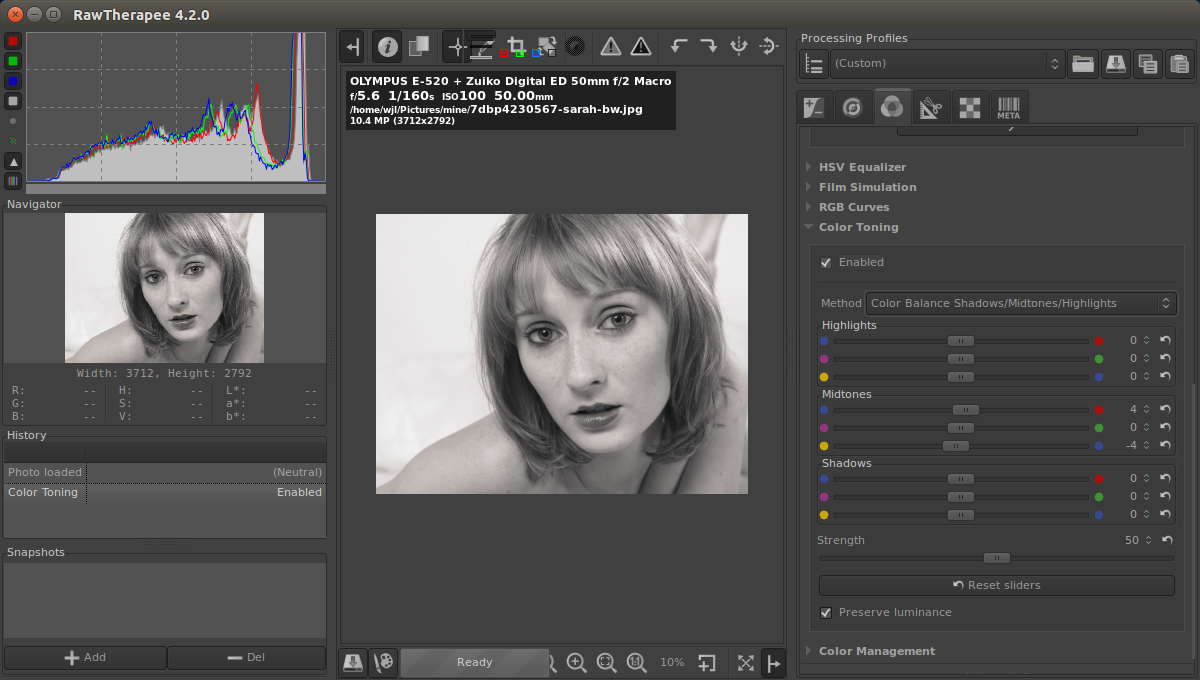
Back in my main operating system of choice (Debian GNU/Linux, which I use since 15+ years now), I use the free and open source RawTherapee converter to finish the image. I mid-toned it with the settings described a few days ago, and I also add an Exif title, and IPTC tags for categories which describe the image (like animal, cat, cat portrait, bw, and so on).
And that’s it, if I don’t have to make local instead of global adjustments (like on hair or skin for instance).
So here you have my currently preferred gear, software, and techniques on how I make photos. Would I want or “need” “full frame” – that horrible description of cameras with a sensor size of Kleinbildfilm, which was 24x36mm? No, not really. The dynamic range and depth of field I’m getting from my Micro Four Thirds camera are just perfect, the image quality (“grain”) at ISO 1600 looks pretty much like film did (and Silver Efex accentuates this quite nicely as well), and the handling and weight of that small camera is just perfect. I even love that its display “only” tilts up or down, while Mitchie’s E-M5 Mk2 has a fully articulated display a la Canon and others. With my tilting-only display I can still simulate an old TLR (twin lens reflex), and view it from the top, so it’s just perfect for me.
If I would earn money with photography, then I would probably think about additional cameras or gear – but since I’m a humble amateur, I’m pretty happy with what I’ve got. I’m trying to make the best out of it, and if people like my shots (like on Flickr), then all the better.
Thanks for reading, as always.